Surface Morphology
Atomic Force Microscopy
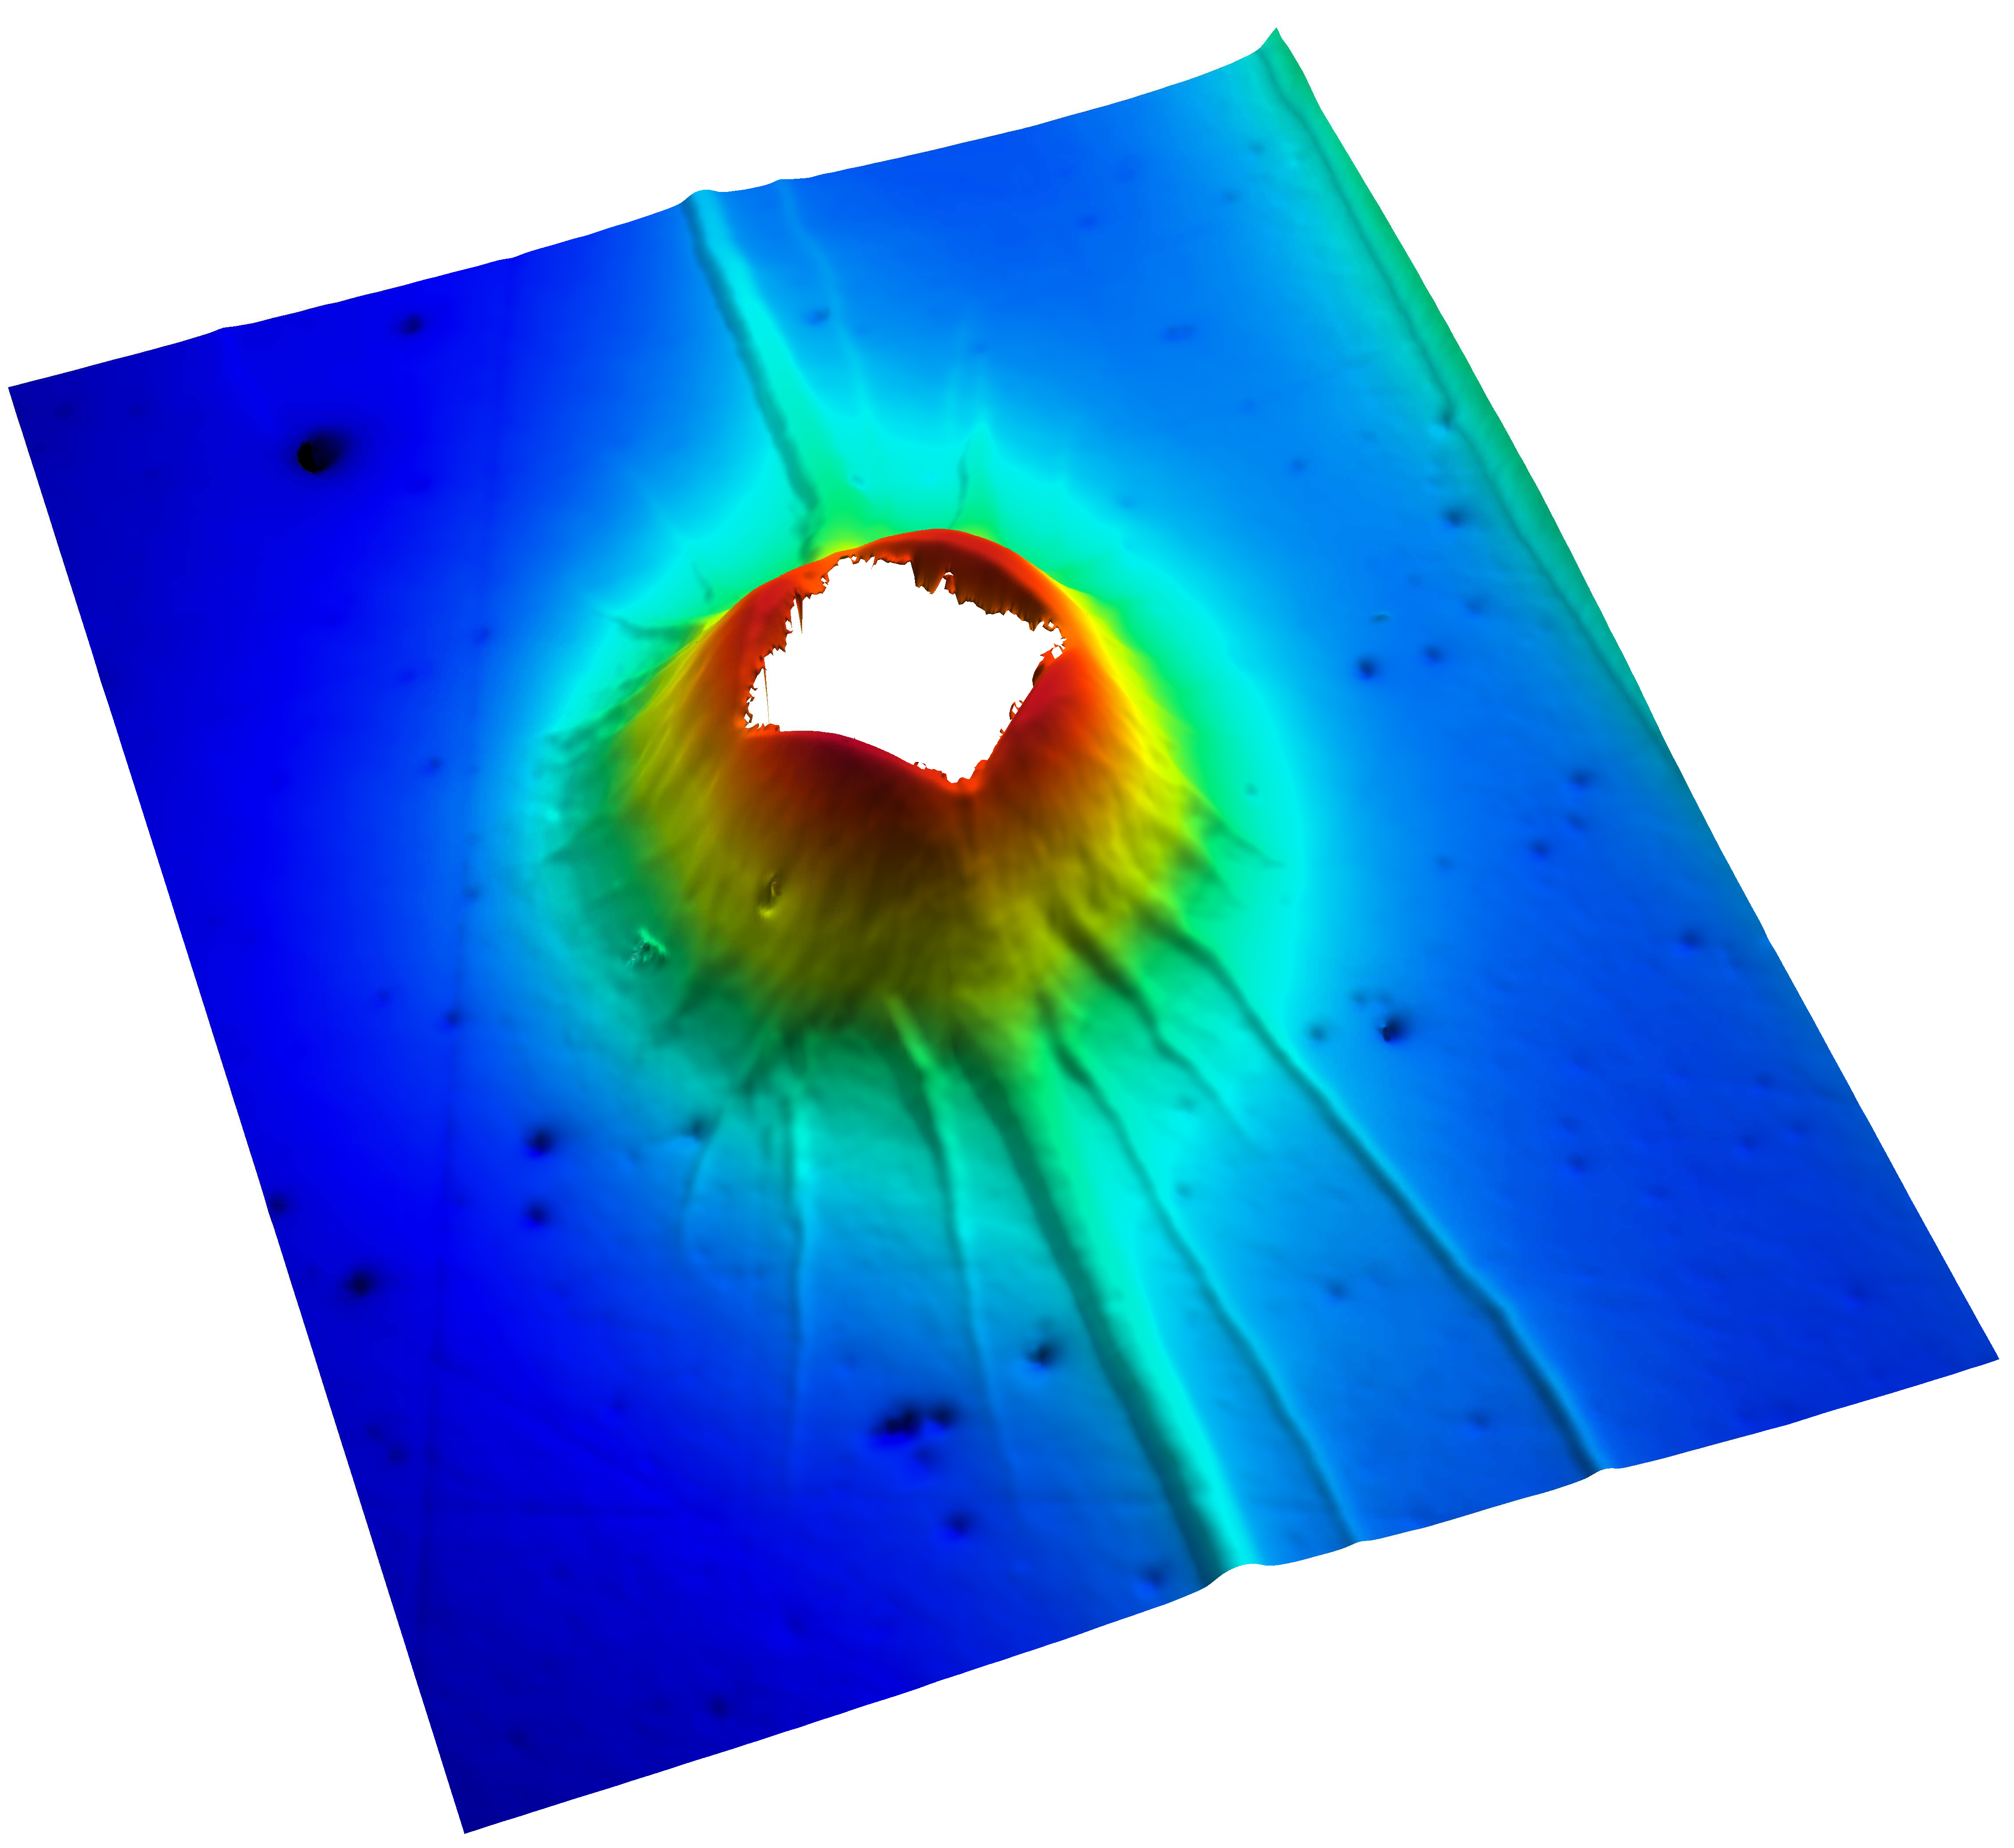
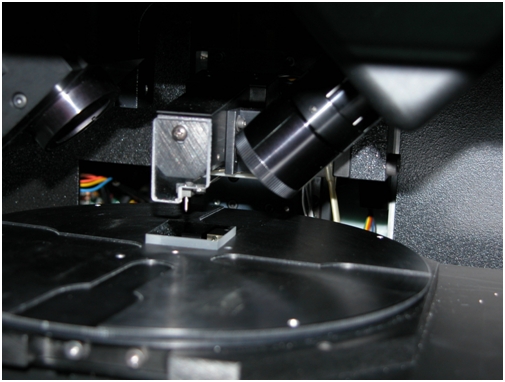
The Atomic Force Microscope (AFM) measures the atomic interaction between a well defined tip and the surface to be examined. The tip is mounted on a cantilever which will be bent when approaching the surface. The associated attracting/repelling forces arise at atomic distances. The deflection of the cantilever is measured via a laser and a 4-quadrant-detector. The tip is scanned over the surface (max. 100 µm x 100 µm) and is able to visualize the topography with a resolution down to a fraction of a nanometre. There are various analysis methods including 2D- and 3D-imaging, line scan, areal evaluation and roughness measurement. With these it is also possible to detect chemical, electrical and magnetic differences.

White Light Interferometry
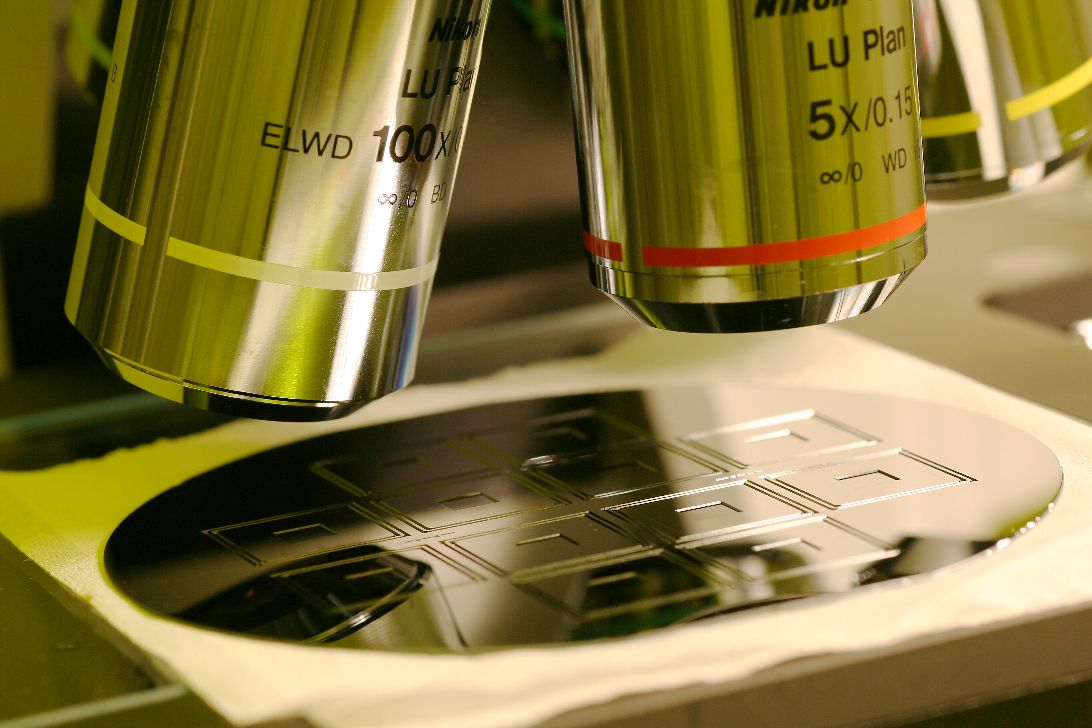
The white light interferometry/confocal profilometry is a method to optically gather surface morphology data. There are various measurement methods available including Vertical Scanning Interferometry (VSI), Phase Shifting Interferometry (PSI) and confocal profilometry. Depending on the method and the used setup there are resolutions of less than 1nm possible allowing the characterisation of very smooth surfaces. Other setups are designed to measure surface roughness in the micrometre scale or flank angles of up to 71°. A lateral resolution of down to 300nm are feasible. The data can be plotted as 2D or 3D graphics. The evaluation provides height profiles as well as roughness parameters.

Stylus Profilometry
Stylus profilometers are widely used due to their easy handling. The various shaped tips are moved across a surface and record height profiles and roughness parameters along a scanned line. Thereby the geometry of the tip defines which structures can be resolved. Therefore, this method is well suited for open structures less so for narrow trenches and steep slopes.


